More Accurate Fittings
The ideal distance between the end of your probe tube and your patient’s eardrum is approximately 3-5mm. Not only does this leave a large margin for error, but many clinicians also struggle with the dexterity and confidence required to place the probe tube quickly and effectively.
A poor probe tube placement often leads to inaccurate measurements and improper adjustment to the patient’s hearing aids. For example, placing the end of the tube too close to the eardrum may occlude the sound and cause a hearing aid to be overamplified. Meanwhile, a probe tube placed too far away will result in over amplification in the high frequencies. This may cause the patient to feel the hearing aid sounds too tinny or sharp and ultimately not accept the fitting.
Let’s dive deeper into how the depth guide ensures the right placement every time.
How The Probe Tube Depth Guide Works
The probe tube depth guide is intuitive to use, with features that allow you to keep your focus on your patient—not the probe tube.
To begin, your speaker will play a noise that the probe mic picks up to determine the distance between the eardrum and probe tube.
As you move the probe tube into the patient’s canal and closer to the eardrum, your computer will make a beeping sound to signal you have reached your target location. You will hear a lower tone as the probe tube moves away from the ideal placement location.
The beeping acts as a guide that allows you to direct your attention to your patient rather than the computer screen, making everyone feel more comfortable as you insert the probe tube.
If you choose to use the screen as a guide, you can use the progress bar and resonant peak graph to determine the distance from the eardrum. Because everyone’s eardrum should peak between 2-4k, you can refer to the resonant peak to confirm correct placement. Or, simply watch the progress bar until the speaker beeps and the bar reaches the green.

Once you’ve heard the beep and the probe tube is in the correct place for at least 3 seconds, the stimulus will stop. The probe guide will switch ears automatically, allowing you to leave the probe tube in place and move to the other side of the patient.
The entire process takes under a minute and allows you to fit your patients more confidently.
Watch How To Use The Probe Tube Depth Guide Video
Step-By-Step
Now that you know how the probe tube depth guide works let’s break down some software-specific tips for getting the best results.
It’s important to note that before attempting to place a probe tube, you have conducted a visual exam of the patient’s ear canal and have found nothing inside the canal that will obstruct the path of the probe tube. While a small amount of wax is okay, it should not occlude the eardrum.
To start, select the Probe Guide icon on the upper right-hand side of the REM or LSM module screens.
![]()
A pop-up box will appear with the progress bar and resonant peak graph that will display how close you are to the eardrum. Press “Start” and move the tip of the probe tube closer to the eardrum as the noise continues.
You will hear a double beep when the probe tube is located at the ideal 3-5 mm away from the patient’s ear drum. If the probe tube remains at the targeted location for at least 3 seconds, the probe guide will automatically switch to the next ear.
When you have finished making the placements, exit out of the probe tube depth guide and proceed with your real ear measurements or speech mapping as normally.
Benefits of Using the Probe Depth Guide
Whether you’re just getting started with REM or have always had difficulty placing probe tubes correctly, the probe tube depth guide offers several key benefits during the fitting process, including:
- Eliminating the fear of bumping an eardrum
- Ensuring proper placement for accurate results
- Teaching new REM/LSM users to place probe tubes correctly
- Providing step-by-step instruction for those still learning
- Making patients more comfortable with a new procedure
- Increasing confidence of the clinician in delivering REM/LSM services
- Reducing appointment time
- Increasing patient satisfaction
Adding this quick and simple step into your fitting procedures can streamline your fitting process while providing numerous benefits to you and your patients. Shorter fittings translate into more appointments you can schedule throughout the day, while more accurate positioning reduces the number of people who return for corrective fittings.
The probe tube depth guide ensures a positive patient experience by getting the perfect placement every time.
Is it Compatible with my REM System?
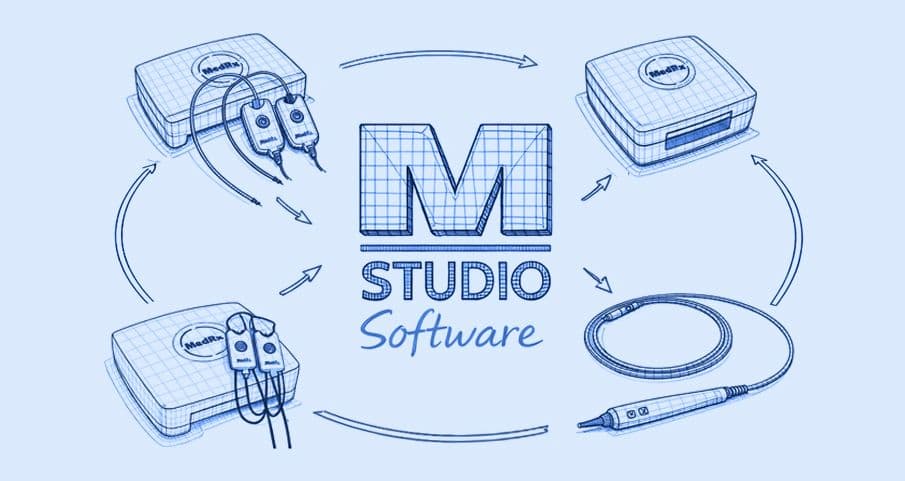
Because the probe tube depth guide is a feature designed for real ear and live speech mapping measurements, it is exclusively available with our REM and LSM modules in our Studio Software. These software modules are available on the AVANT ARC and AVANT REM Speech+ and included in any future expansions to our Studio REM line.
If your MedRx device is still running our AVANT software, you will first need to upgrade to Studio software. You can check your device’s compatibility here. If your device is compatible, you can call our office to upgrade to our newest software.
If your device is incompatible with Studio, we offer trade-in discounts when you purchase a new MedRx REM system. Contact a member of our Sales team to get your special trade-in pricing today.
If you already own a MedRx real-ear system that uses Studio software, ensure you update your device’s software to Version 1.2. You can download the newest versions of MedRx Studio at medrx-support.
Once your software is up to date, you will see the new probe guide icon in the upper right corner of the REM and LSM module pages.
Not a MedRx user yet? Learn more about MedRx’s Real Ear Measurement options.
Stress-Free Probe Tube Placements
Using binaural probe microphones, computer-based software, and now a new probe depth guide, MedRx wants to make it as easy as possible for new and experienced clinicians to improve their fittings.
As REM and LSM are established as best practices within the industry, it’s important to not only adopt these practices but excel at them. Whether you’ve been doing real ear measurements for years, or are just getting started, the MedRx probe tube depth guide feature will allow you to place probe tubes quicker and easier.
Eliminate the learning curve that usually comes with learning a new procedure and let MedRx guide you in starting real ear measurements. If you’re interested in learning more about the probe tube depth guide or MedRx’s options for REM or LSM, call us at (888)392-1234.
Sources:
Effect of Probe Tube Insertion Depth on Spectral Measures of Speech